How to Properly Install a Heatsink Thermal Pad to Ensure Optimal Cooling?
- Posted on:2023-04-26 14:15:00
- Source:AOK Thermal Pad Manufacturer FAQs
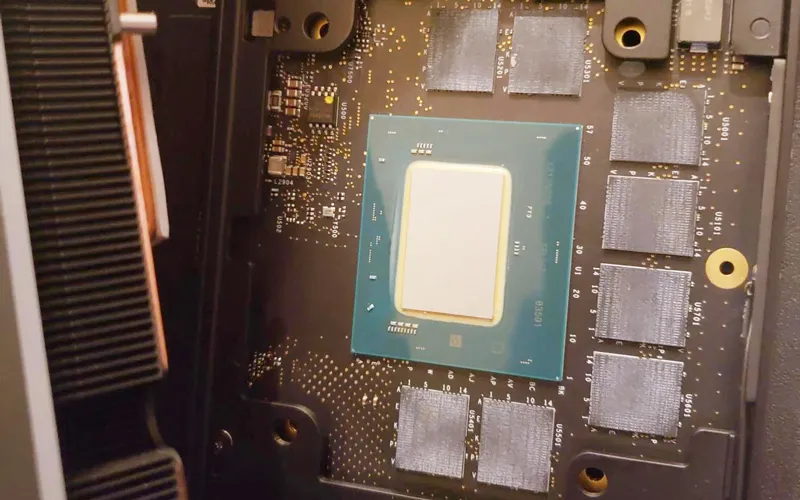
Thermally conductive pad, also known as thermally conductive silicone sheet, are mainly used for the transfer interface between electronic equipment and heat sinks or product shells. They have good viscosity, flexibility, compressibility and excellent thermal conductivity, so that they can completely make electronic components the air between the heat sink and the heat sink is exhausted to achieve full contact and the heat dissipation effect is significantly improved.
To ensure optimum heat dissipation, follow these steps when installing the thermal pad:
1. Keep the contact surface between electronic components and thermal pads clean, and avoid dirt on the surface of electronic components. Any stains on the contact surface will lead to poor self-adhesive and sealing thermal conductivity of thermal pads.
2. When picking up the thermal pad, the one with a large area should be picked up from the middle part, because if the large thermal pad is picked up from the edge, it is easy to be unevenly stressed, resulting in deformation of the thermal pad, affecting subsequent operations and even damage thermal conductive sheet. Sheets with smaller areas are not required.
3. Hold the thermal pad with your left hand, and tear off one side of the protective film with your right hand. When using, remember not to tear off the protective film on both sides at the same time, and minimize the number and area of direct contact with the thermal pad, so as to keep the self-adhesiveness and thermal conductivity of the thermal pad from being damaged.
4. After tearing off the protective film, first align the radiator with the electronic component to be pasted, slowly put down the thermal pad, and use a flat film to push from left to right to avoid the generation of air bubbles in the middle.
5. If air bubbles are generated during the operation, you can pull up one end of the thermal pad and repeat the above steps, or borrow a hard plastic sheet to gently wipe off the air bubbles. The force should not be too large to avoid damage to the thermal pad.
6. Tear off the protective film on the other side, and then align it and put it into the radiator. When tearing off the protective film, the force should be small to avoid straining or causing air bubbles.
7. After the thermal pad is pasted, apply a certain pressure on the radiator and store it for a period of time to ensure that the thermal pad is fixed.
The above is the correct use of thermal pad, each of which requires careful operation. Note that different devices and thermal pad manufacturers may have different installation guidelines, so it is best to consult the relevant documentation or contact the manufacturer for precise instructions before installation.
If you would like to learn more about AOK performance thermal materials, please visit our website at www.aok-technologies.com.


